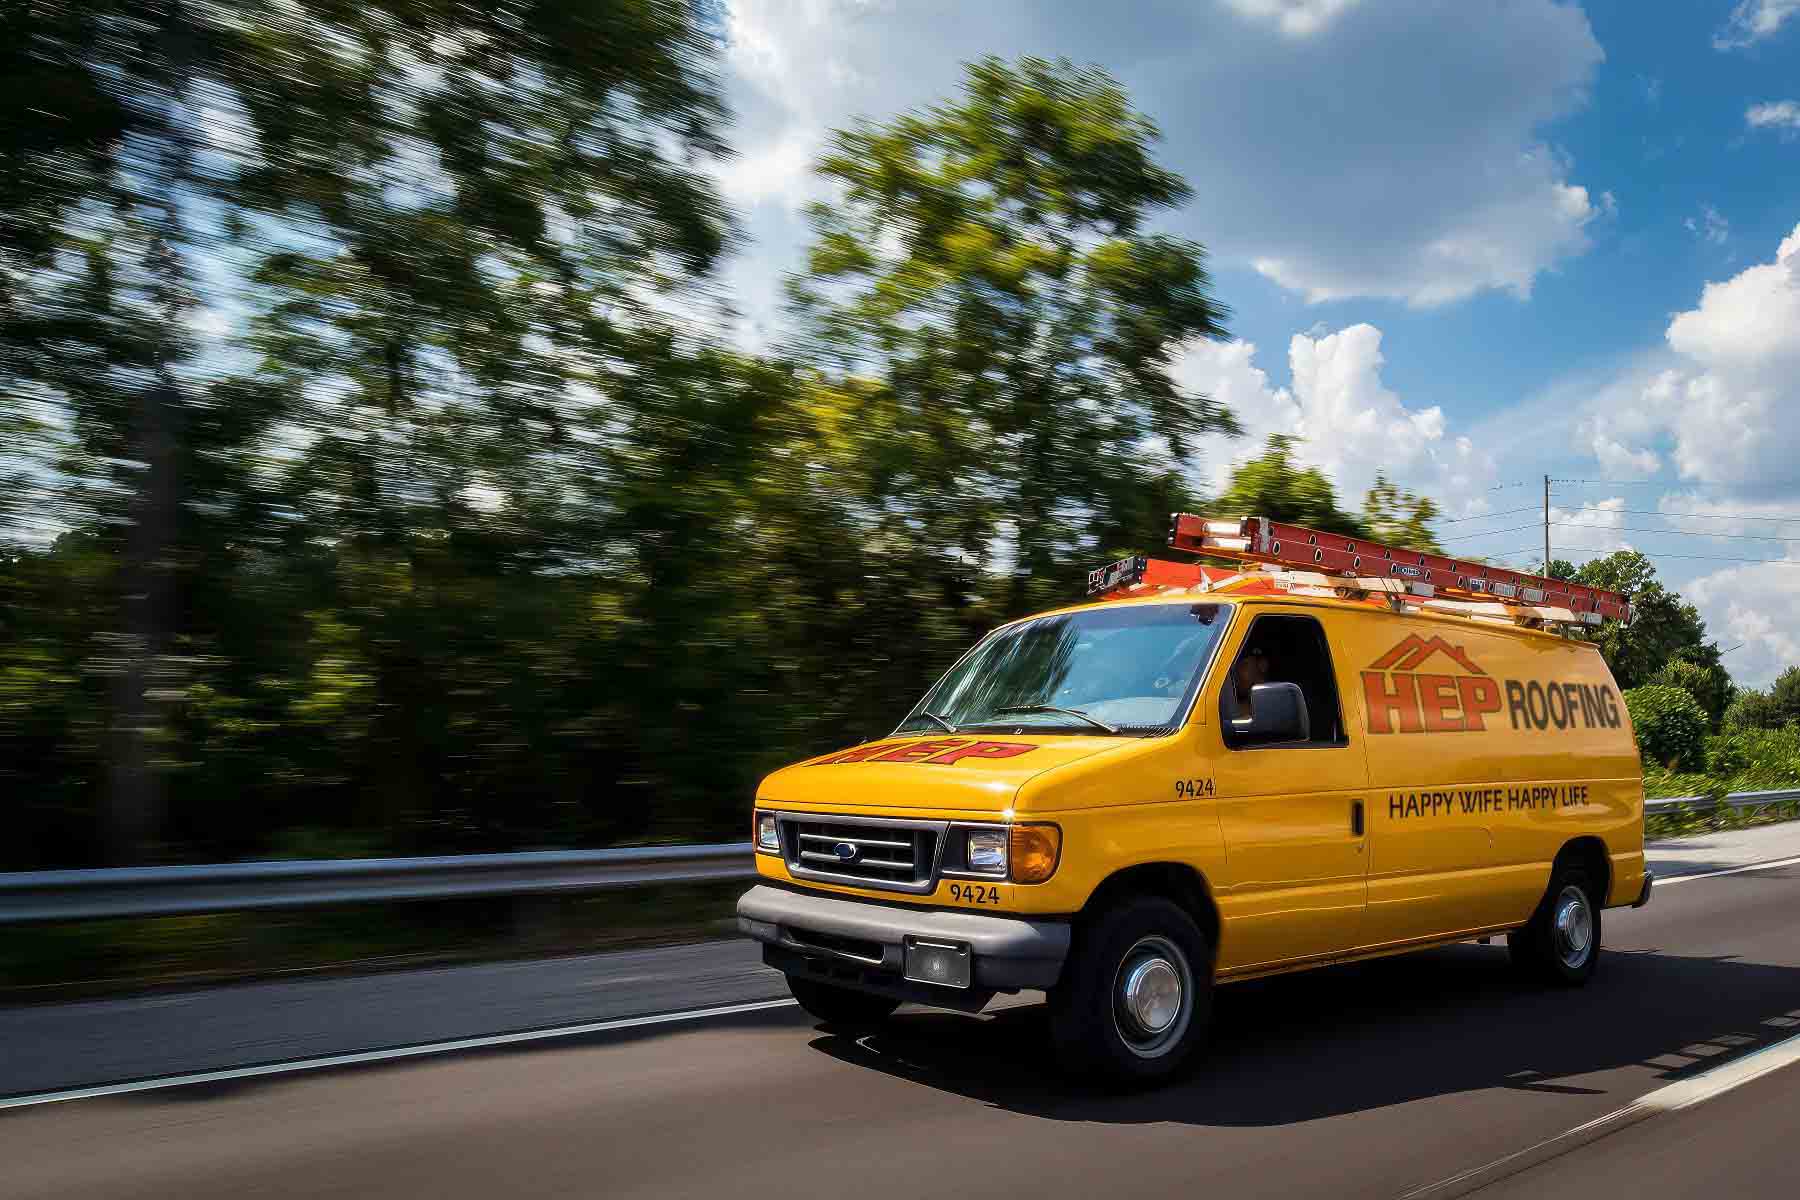

Installation Techniques
Your trusted partner for professional home services. Quality workmanship, guaranteed satisfaction.


- HEP Roofing
- Installation Techniques
Installation Techniques | Roofing Done Right | Roofing | Signal Mountain
When the mountain winds whip through Signal Mountain and afternoon storms roll over the ridge, homeowners trust HEP’s Installation Techniques to safeguard what matters most. Our licensed crews begin every project with a meticulous inspection, documenting ventilation needs, flashing integrity, and deck stability before a single shingle is lifted. From hand-nailed starter strips to self-sealing ridge caps, each layer is precision-installed to surpass local codes, maximize energy efficiency, and withstand the area’s temperature swings. The result is roofing done right—quietly resilient, perfectly aligned, and ready for decades of Southern Appalachian weather.
Beyond craftsmanship, we believe service should feel as solid as the roof itself. That’s why we keep you updated in real time, leave your yard cleaner than we found it, and back every system with ironclad warranties that stay with the home. Whether you’re replacing a storm-damaged roof or upgrading for curb appeal, HEP delivers a seamless experience that lets you enjoy Signal Mountain’s views without ever worrying about what’s overhead.
FAQs
Which roofing materials perform best in Signal Mountain’s climate?
Signal Mountain sits on the Cumberland Plateau where high winds, heavy rain, occasional snow, and strong summer sun can all take a toll on a roof. Architectural asphalt shingles with a 130-mph wind rating are the most popular because they balance cost, curb appeal, and durability. Standing-seam metal roofs are also common on the mountain because they shed snow quickly, resist uplift, and last 40–60 years. For homes surrounded by tall pines and hardwoods, impact-resistant (Class 4) shingles or metal help prevent damage from falling limbs. During our consultation we explain the pros and cons of each material and match you with the system that meets local code, HOA rules, and your budget.
What installation techniques does “Roofing Done Right” use to ensure a long-lasting roof?
We follow manufacturer specifications to the letter and add best-practice steps proven to work in Signal Mountain’s weather: 1) Complete tear-off and deck inspection; damaged decking is replaced with 7⁄16-in. OSB or 5⁄8-in. plywood. 2) Ice-and-water shield on all eaves, valleys, and penetrations; synthetic underlayment elsewhere for superior tear strength. 3) Starter-strip shingles and a chalk-line six-nail pattern (or screws on metal) for 130-mph wind resistance. 4) Closed-cut or woven valleys lined with 24-ga. valley metal. 5) Factory-matched ridge caps installed over a continuous ridge vent. 6) Every penetration (pipes, chimneys, skylights) gets new step and counter flashing, sealed with tripolymer roofing sealant. A foreman photographs each stage so you have a permanent record of the work.
Do you handle permits and local building code requirements?
Yes. Roofing work in Signal Mountain falls under Hamilton County’s Residential Building Code, which references the 2018 IRC. We pull the required roofing permit, schedule the county’s dry-in and final inspections, and supply any documentation an HOA architectural committee may request. Our crews are licensed, insured, and OSHA-trained, so you’re fully protected from liability.
How do you address ventilation and flashing, two common failure points on mountain roofs?
Proper ventilation prevents heat build-up in the summer and condensation in the winter. We install a balanced system that delivers roughly 1 sq ft of net free ventilation for every 300 sq ft of attic floor area using continuous soffit vents paired with a ShingleVent II or similar ridge vent. For flashing, we use 26-ga. pre-finished steel drip edge along all eaves and rakes, 8-in. step flashing on every course where a roof meets a wall, and soldered copper counter-flashing on masonry chimneys. All flashings are installed under the underlayment at the top and over the shingle below to create a true shingle-style water lap.
How long will my roof replacement take and what should I expect during installation?
A typical 2,000-sq-ft single-story home takes 1–2 days for asphalt shingles and 2–3 days for standing-seam metal, weather permitting. We deliver materials the afternoon before the tear-off, protect landscaping with tarps and plywood, set a driveway-safe dump trailer, and use Equipter lift carts so debris never touches your gutters. The crew performs magnet sweeps every evening, and a supervisor performs a final walk-through with you to confirm workmanship and cleanup before we leave.
What warranties and maintenance tips do you provide after the job is done?
You receive a written 10-year workmanship warranty from Roofing Done Right plus a registered manufacturer warranty—Limited Lifetime on asphalt shingles or 40-year painted finish on metal panels. To maximize that coverage we recommend: (1) visual inspections each spring and after severe storms; (2) keeping gutters clear so water cannot back up under shingles; (3) trimming limbs at least 6 ft from the roof; and (4) calling us for small repairs—loose pipe boots, missing ridge caps, etc.—before they grow into bigger issues. Annual maintenance packages are available if you’d prefer we handle the upkeep.